


A floor-level shower sits flush with the rest of the bathroom floor and, depending on the drainage system, needs a build-up height of between around 40 and 150 millimetres. Whether the installation succeeds depends on the existing floor build-up, not on the shower model.
Most plans fail not because of the look and not because of the price, but because of four centimetres. The tiler measures, adds up the layers and finds that there is simply no room under the old screed for the drain and the fall. If you only clarify this point on the building site, you are standing in a ripped-out bathroom facing the question of whether the ceiling has to be opened or the whole project falls through. You can do this calculation in advance, and that is exactly what this article is about.
When a floor-level shower is structurally possible
The decisive factor is the distance between the top of your finished floor and the structural slab beneath it. The drain body, the waste pipe with its own fall, the waterproofing, the screed or shower element, the adhesive and the tile all have to fit into this space. In new buildings this is rarely a problem, because the floor build-up is planned anyway. In existing buildings, everything depends on what was installed in the seventies or eighties.
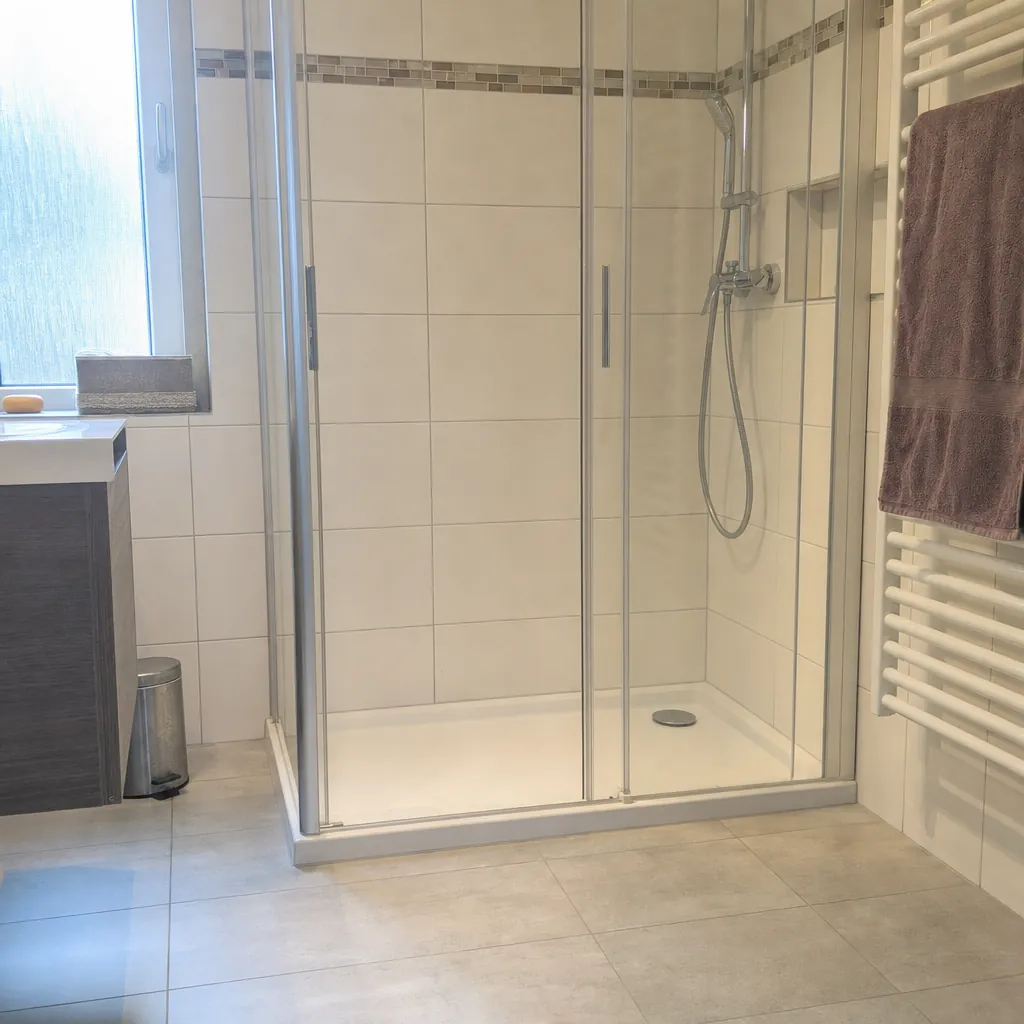
A second point is often overlooked. The waste pipe itself needs a fall to the soil stack, and the further the shower is from the stack, the more height this run uses up. A shower directly on the installation wall is therefore technically less critical than one in the opposite corner.
With timber joist ceilings, a third question arises. Here you cannot simply cut away as much as you like, because the load-bearing capacity of the joists must be preserved. Such work belongs in the hands of a structural engineer or an experienced specialist company, not in a weekend plan.
How much space the shower area itself needs depends on how it will be used. For adapting a bathroom for older age, the values of German standard DIN 18040-2 are the usual guide, in the standard case 80 to 100 centimetres wide and 75 to 100 centimetres deep. We have compiled the complete dimensions and manoeuvring areas in a separate guide.
The fourth hurdle is not purely structural. In a rented flat, any work on the floor build-up requires the landlord's consent, in writing and before the work begins. In a flat owned under a homeowners' association, things are even tighter, because the structural slab and waste pipes count as common property. Partially lowering the floor or rerouting a pipe is then not a matter of personal taste but of a formal resolution. Clarify this early, because this approval often takes longer than the conversion itself.
Calculating the build-up height layer by layer
Instead of a blanket figure, only your own calculation helps. You add up, from bottom to top, what actually lies on top of each other, and compare the result with the space you have.
According to specialist tiling companies, the classic build-up with sloped screed and point drain needs at least 120 to 150 millimetres. Prefabricated shower elements made of rigid foam are considerably flatter; here the same sources quote installation heights from around 40 millimetres, because the fall is already built in at the factory and the screed is no longer needed as the sloped layer. Almost everything that is built in practice lies between these two extremes.
| Build-up type | Stated build-up height | Typical situation |
|---|---|---|
| Sloped screed with point drain | 120 to 150 mm | New build or complete renovation with the floor opened up |
| Prefabricated shower element | from around 40 mm | Renovation of an existing building with limited height |
| System with drain pump | from around 100 mm including pump | no sufficient fall to the soil stack available |
| Individual flat systems | under 65 mm | very little remaining build-up height |
The values come from manufacturer overviews and information from specialist companies and are reference points for planning, not standard requirements. Your specific system has its own dimensions, which are stated in the data sheet.
If the height is not enough on paper, the remaining option is to partially lower the floor. This involves removing the screed in the shower area and deepening the floor slab in this section. Around 5 to 10 centimetres is the figure usually given, depending on how much build-up height is missing. This is a real intervention in the floor with corresponding effort, and in an owner-occupied flat it is also a question of common property.
Shower channel, point drain and wall drain compared
The choice of drain decides three things at once: the build-up height required, the direction of the fall, and which tiles can sensibly be laid at all later on.
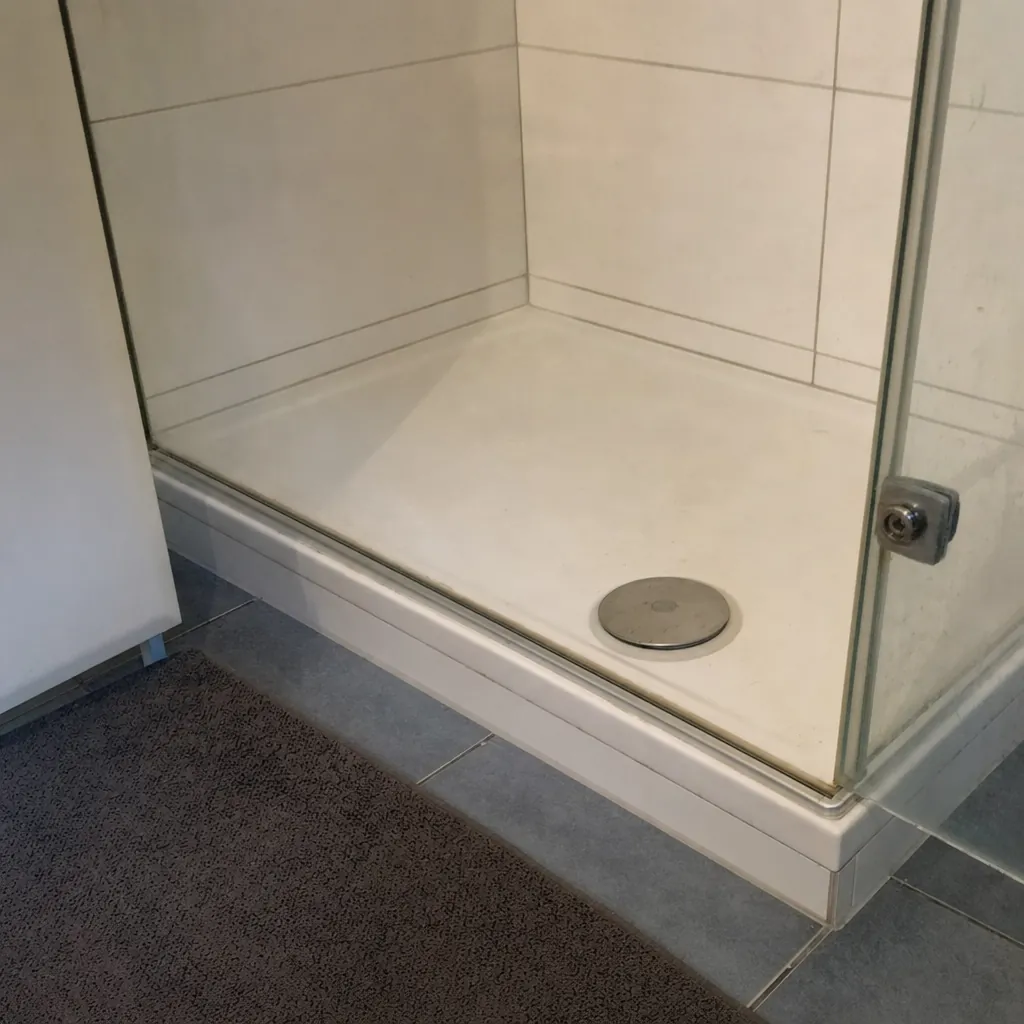
The point drain usually sits in the middle of the shower area. Water flows towards it from all four directions, so the floor is given a four-sided fall. This is the classic solution and unproblematic in new buildings, but it requires the greatest build-up height, because the drain body extends vertically downwards.
The shower channel runs as a line along one side of the shower area or directly against the wall. The floor slopes in only one direction, which makes laying large tiles considerably easier. According to specialist portals, drains close to the wall are the option with the lowest build-up height, because the drain body is flat and the pipe is routed away to the side.
If there is no fall to the soil stack at all, a pump solution remains. It buys height with technology: a small lifting unit actively pumps the shower water to the connection. The price for this is a component that needs electricity, makes noise and requires maintenance. The electrical connection is carried out by a qualified electrician, all the more so in a bathroom. This works as an emergency solution, but you should not plan it as your first choice.
One point that is easily overlooked when choosing a system is cleaning later on. Every drain collects hair and soap residue, and how easily you can get at it varies considerably. With a shower channel, the cover can usually be removed in one piece and the strainer insert pulled out. A point drain has the smaller opening, but the trap sits directly below it and is easy to reach. More important than the design is that the insert can be removed without tools and without bending down to the floor. For a bathroom that is being adapted for older age, this is not a minor detail but a question of everyday usability.
Installing a floor-level shower step by step
The procedure is similar for all systems, even if the individual steps differ in effort.
- Assess the existing situation. Measure the available build-up height, locate the soil stack, find out what type of ceiling you have.
- Choose the system. Decide on the drain type and build-up based on the available height, not the other way round.
- Removal and preparation. Remove the old bath or shower tray, make the substrate load-bearing and level.
- Fit the drain and pipe. Install the drain body and connect the pipe with the necessary fall.
- Create the fall. Either with sloped screed or with a shower element shaped at the factory.
- Waterproof. Bonded waterproofing over the floor and adjoining wall surfaces, corners and penetrations with sealing tapes and collars.
- Tile and grout. Lay the covering, form movement and connection joints with elastic sealant.
The sixth step is the only one where a mistake cannot be corrected later without knocking the tiles off again. Under German standard DIN 18534, the floor area in the shower is classed as water exposure class W2-I and the adjoining wall surfaces as W1-I. For crack-bridging mineral waterproofing slurries, DIN 18534-3 requires a minimum dry film thickness of 2.0 millimetres. Such waterproofing achieves crack class R1-I and bridges cracks up to a maximum width of 0.2 millimetres. These are not recommendations but rules of workmanship, and they are the reason why waterproofing is generally not a DIY job.
Only after the floor covering is the shower screen fitted, and there is a reason for this order. Fixed glass elements are placed on the finished tile and anchored there or clamped into a profile, because otherwise neither the alignment nor the height can be set accurately. If you order the screen too early, the finished sloped surface will throw off the measurements in the end. Also plan for how far the water can splash. An open shower area without a door needs more space in front of it so that the rest of the floor stays dry, and in small bathrooms this is exactly the space that is often missing in the end.

Planning tiles and fall correctly
The fall in the shower area should be no more than 2 percent. In practical terms, that means around 2 centimetres of height difference per metre of shower depth. Too little fall leads to standing water; significantly more becomes noticeable when standing and is counterproductive in a bathroom for older people.
This is exactly where the choice of tiles is linked to the drain. Small formats up to around 10 by 10 centimetres adapt well to the fall thanks to their many joints, which is why mosaic is a classic in the sloped area. According to specialist tiling companies, large-format tiles from 60 by 60 centimetres work mainly with linear drainage, because there is only one direction of slope to compensate for. With a point drain, on the other hand, elaborate cuts are needed, because each tile would have to tilt in two directions at once.
The proportion of joints has a second effect. Joints are rough and break up the film of water, so smaller formats also give better grip underfoot. For the shower area in a bathroom for older people, slip-resistant coverings of assessment group B according to DGUV Information 207-006 and R10 according to DGUV Rule 108-003 are cited. The two systems measure different things: the R classes apply to areas walked on with shoes, the assessment groups A to C to wet barefoot areas. If you are thinking about the floor covering anyway, it is also worth looking at alternatives to tiles in the bathroom.
What sits between the tiles is just as important as the tile itself. In the constantly wet shower area, a high-quality cementitious grout performs well, provided it is applied continuously and without voids. Where a lot of cleaning agent is used, specialist companies also use epoxy resin grout, which is more chemically resistant and absorbs less dirt, but has to be applied more carefully. Movement and connection joints at corners, wall junctions and around the drain are a separate case. They are not grouted but sealed elastically with silicone, because the components expand differently. Rigid grout will sooner or later crack here, exactly where the waterproofing is least forgiving of mistakes.
Avoiding typical installation mistakes
Standing water is by far the most common complaint after the conversion, and in most cases the cause lies in the fall. Either it was laid too flat, or at one point it runs against the direction of the drain. This can hardly be put right afterwards without a new floor covering.
The second classic mistake is the waterproofing at the transitions. It is not the surface that fails, but the corner between floor and wall, the connection to the door area or the penetration at the drain. The bonding flange of the floor drain must be at least 50 millimetres wide; for classes W0-I to W2-I, at least 30 millimetres is also permitted. If corners are cut or the work is sloppy here, moisture will seep into the build-up for years before it becomes visible.
The third mistake is a planning error. The shower is positioned according to the desired dimensions, and only afterwards does anyone check how the water gets to the soil stack. Then either the build-up height has to increase or a pump has to be retrofitted, both of which cost more than a position that suits the installation from the outset.
The fourth mistake happens in the showroom, long before the building site. The tile format is chosen for its looks and only then matched with the drain. Large-format tiles combined with a point drain force the tiler into cuts that rarely look good and even more rarely sit cleanly in the fall. The same applies the other way round: a fine mosaic over the entire shower area does give good grip, but it creates a great deal of joint length to maintain. The most honest order is therefore: first measure the build-up height, then decide on the drain, then choose the tile.
Alternatives if installation is not structurally possible
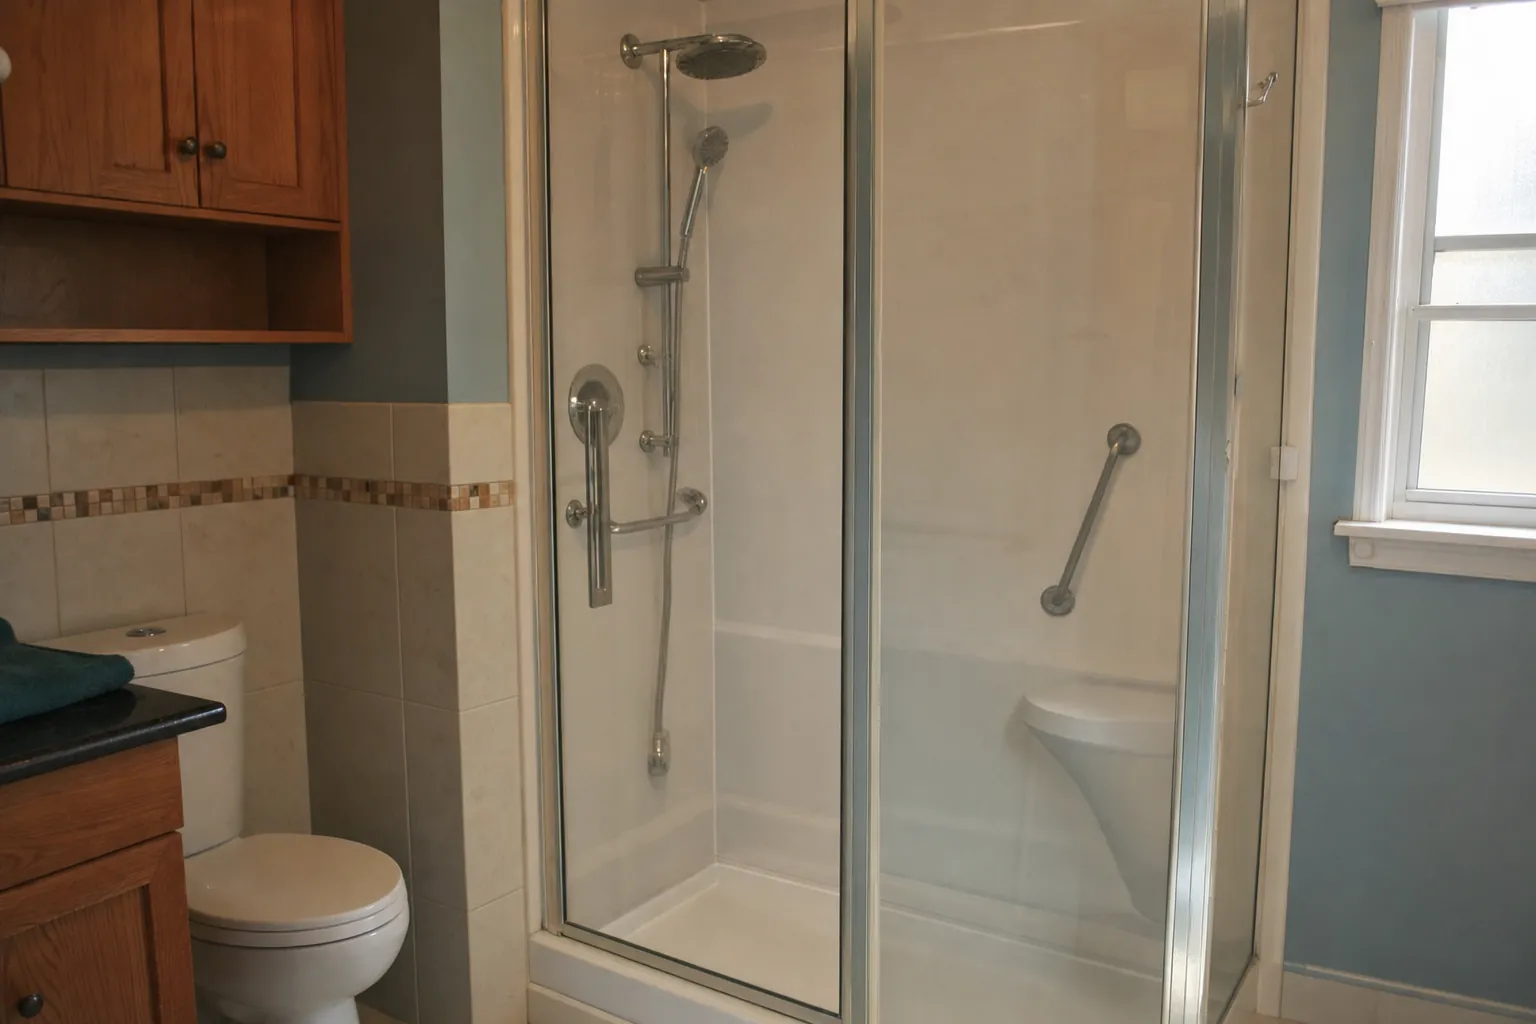
Sometimes the answer is simply no. The remaining build-up height is not enough, the ceiling cannot be opened, the homeowners' association does not agree, or the effort is out of all proportion to the benefit. That is not a failure, but a normal constraint in existing buildings.
For everyday life, what counts is not a perfectly flush transition anyway, but a low and safe way in and out. This is exactly where the practical alternatives come in. Extra-flat shower trays come very close to the floor-level look; for ultra-flat models, an internal depth of no more than 2 centimetres is stated, depending on the version. Where even that is not possible, system solutions remain that do without any intervention in the floor.
We at Seniorbad.de do not sell floor-level shower systems ourselves, and we say so openly. Our range starts one step later, where safe everyday use in the existing bathroom is what matters. A shower cabin with low entry is the more realistic solution for many bathrooms than an intervention in the structural slab. If you want to renew the shower area completely, our complete shower cabins as a ready-made solution give you a finished unit with tray and back panel. If you only want to replace the screen, you will find what you need among our ready-made shower cabins.
Frequently asked questions about the floor-level shower
No. What matters is the available build-up height between the finished floor and the structural slab, as well as the fall of the waste pipe to the soil stack. With timber joist ceilings, load-bearing capacity is an additional limit. If the height is not enough, the alternatives are partially lowering the floor by around 5 to 10 centimetres, a pump solution or an extra-flat shower tray.
That depends on the system, not on the size of the shower. For the classic build-up with sloped screed and point drain, specialist companies quote at least 120 to 150 millimetres. Prefabricated shower elements manage with installation heights from around 40 millimetres, and some flat systems with less than 65 millimetres. The data sheet of your specific system is what counts.
Removal and preparation are feasible as DIY work, but waterproofing usually is not. Under German standard DIN 18534, the shower floor is classed as water exposure class W2-I, and for mineral waterproofing slurries the standard requires a minimum dry film thickness of 2.0 millimetres. Mistakes at corners and penetrations only show up after years and can then only be fixed with a new floor covering.
Almost always, the fall is wrong. It should be no more than 2 percent, which is around 2 centimetres of height difference per metre of shower depth, and it should run consistently towards the drain. Common causes are a fall that was laid too flat, a counter-slope at one edge or a dirty drain. Check the drain first before you suspect the floor covering.
In the sloped area, small formats up to around 10 by 10 centimetres have the advantage, because their many joints let them follow the slope. Large formats from 60 by 60 centimetres work mainly with linear drainage that has only one direction of slope. For the shower area, slip-resistant coverings of assessment group B according to DGUV Information 207-006 are cited, which applies to wet barefoot areas. The frequently quoted class R10, on the other hand, comes from the rules for areas walked on with shoes.
Planning with a specialist company
Have a specialist company measure the build-up height before you decide on materials. This one figure determines the drainage system, the tile format and the cost framework, and it can neither be estimated nor corrected afterwards.
The information in this guide is as of August 2026. This guide does not replace individual advice from a specialist company.
If you are unsure whether your bathroom has the necessary build-up height, clarify that first and then decide on the fittings. You can then take your time in our shop to see which solution suits your bathroom.


